Digital Microscope Setup for Windows 10: Step-by-Step
Short answer: there are two reliable ways to get a digital microscope working with Windows 10 — direct USB (for scopes that present as cameras, or for file transfer) and an HDMI capture device into OBS Studio. If your goal is recording repair footage, the most dependable workflow is often neither: record 2160P onboard to SD, output HDMI for live viewing, and use the PC for editing. Here is each route, step by step.
Before you start: know which kind of scope you have
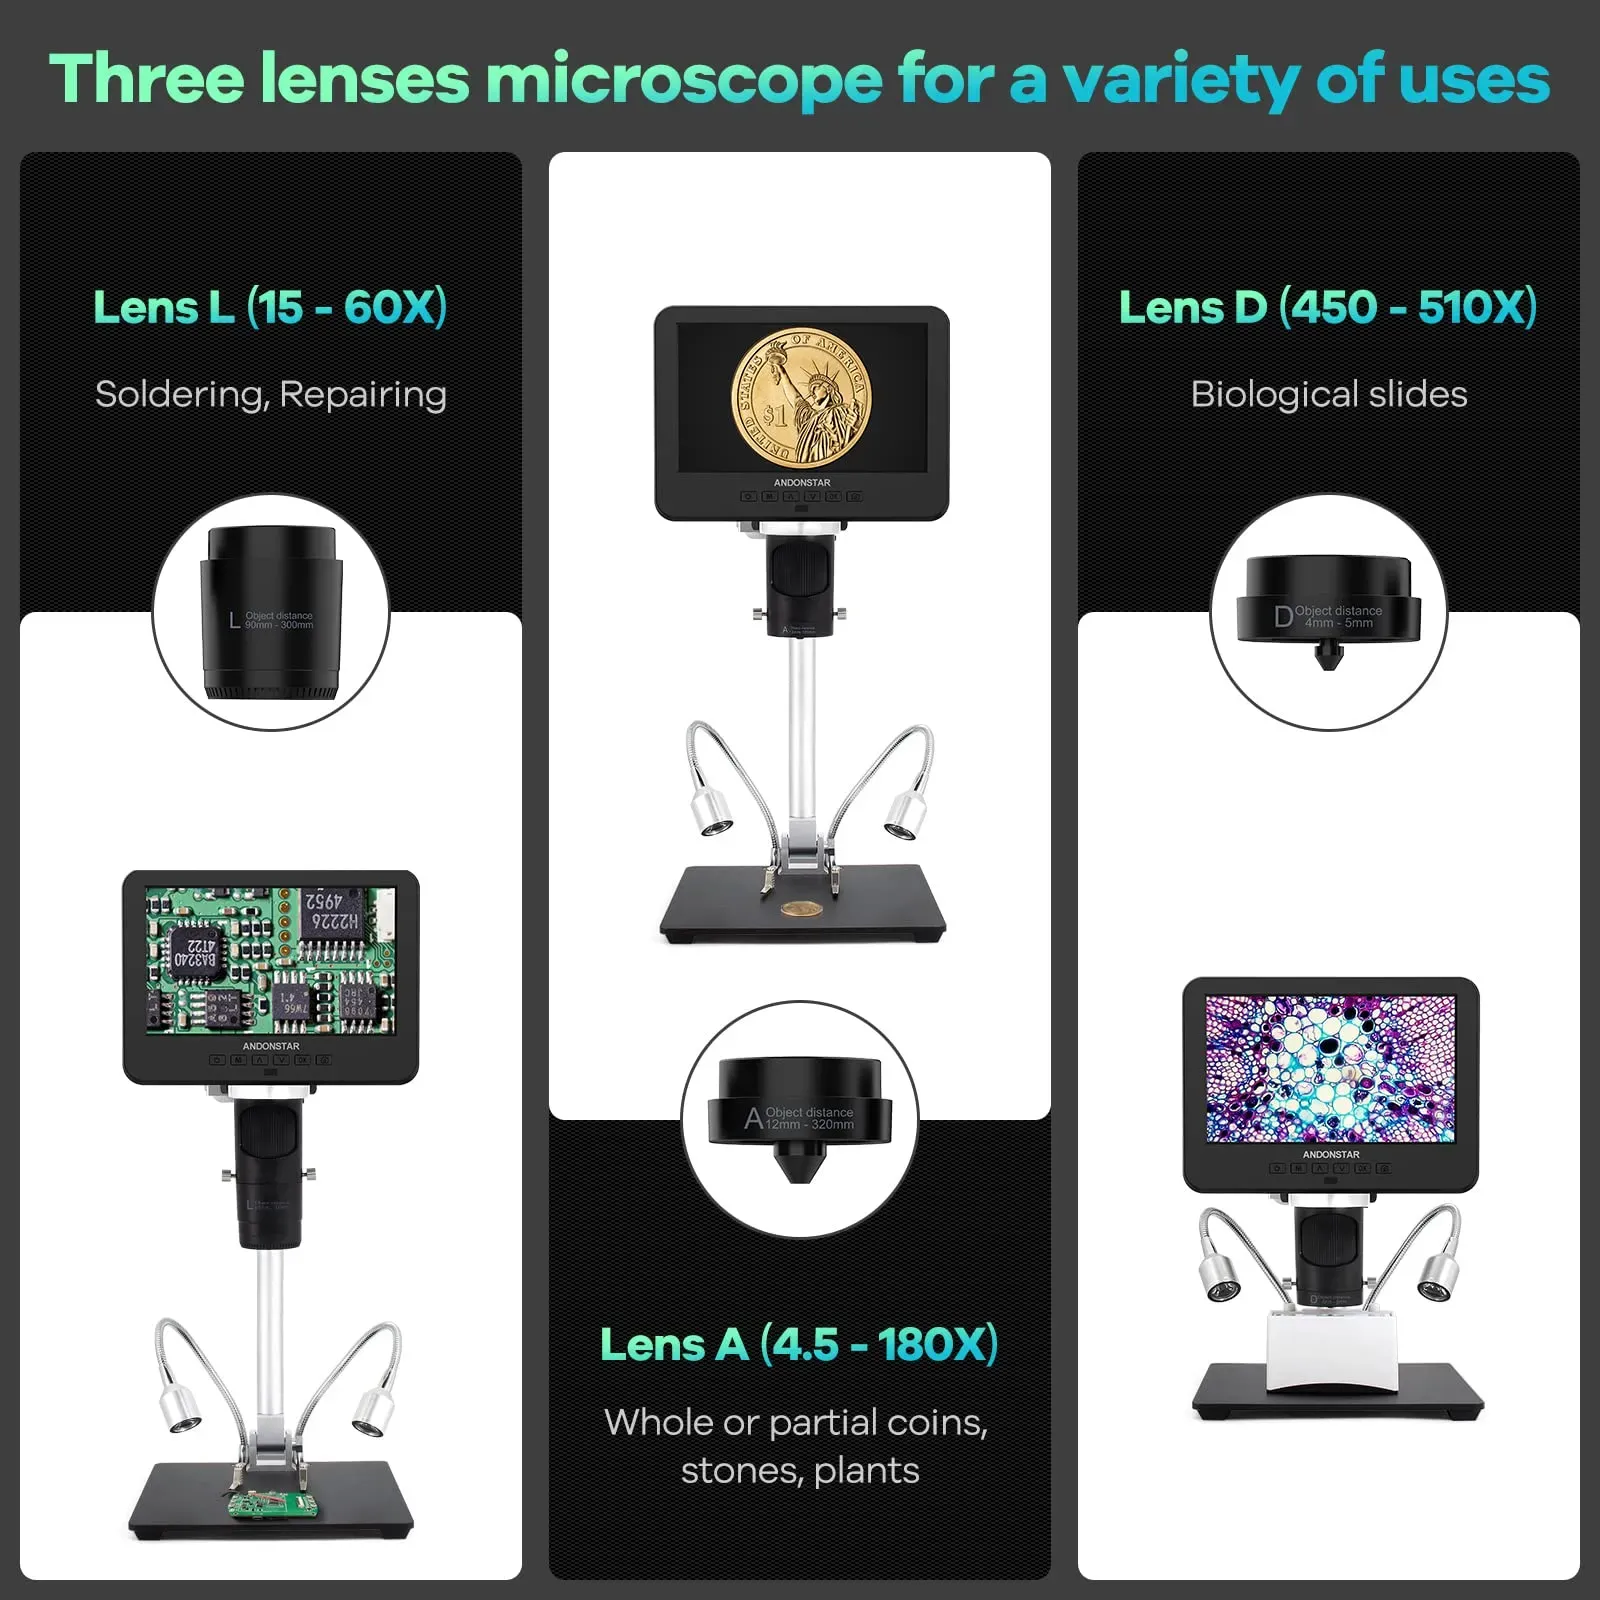
Some USB microscopes present themselves to Windows as standard UVC cameras (the same class as webcams) and appear in the Camera app with no driver installation. Bench scopes with integrated screens often behave differently: their USB port may be for file transfer or specific viewing software rather than generic webcam mode — the Andonstar AD246S-M, for instance, is designed to work standalone on its 7-inch screen, with USB covering transfer and compatible software depending on your workflow. Check the manual for your exact model before assuming webcam behaviour; it decides which route below applies.
Route 1: USB connection
- Connect the scope's USB cable to the PC and power the scope into its PC/USB mode (wording varies by model).
- Open Device Manager: a UVC scope appears under "Cameras" or "Imaging devices" using Windows 10's built-in driver — no vendor download needed.
- Test in the Windows Camera app first. If the feed shows there, any capture software will see it.
- If the scope instead mounts like a storage device, it is in transfer mode: copy recorded clips off the SD card this way, and use HDMI or onboard recording for live work.
Route 2: HDMI capture into OBS Studio
This is the route creators use, because it works with any scope that has HDMI out and it keeps the scope's own screen live at the bench:
- Plug the scope's HDMI output into a UVC HDMI capture device (a USB 3.0 dongle), and that into the PC.
- Install OBS Studio (free), add a Video Capture Device source, and select the capture dongle.
- Set the OBS canvas to match your delivery format — 1920×1080 is the practical default; capture dongles commonly hand Windows a Full HD stream even from UHD sources.
- Frame the shot, lock focus and exposure on the scope, then record. Free disk space and a sensible bitrate matter more than exotic settings.
The tutorial-footage workflow that actually holds up
If you publish repair content, the recurring failure is footage you cannot use: a phone camera hunting focus across a shiny board, or a screen recording that drifts out of sync with your hands. The steadier pattern:
- Record onboard at 2160P to the scope's SD card — fixed focus, no dropped frames from a busy PC, and enough resolution that you can crop a vertical phone-format clip out of the frame afterwards without it turning to mush.
- Use HDMI live for what needs to be live: monitoring your own work at eye level, or teaching to a second screen.
- Let the PC do editing, not capture, unless you specifically need streaming — in which case Route 2 is your friend.
Which interface to rely on for live work is its own decision — the trade-offs are covered in HDMI vs USB microscope for PCB repair, and the camera-hardware side (sensor, frame behaviour, lens pairing) in the microscope camera guide.
Fixing a choppy or missing preview
- Nothing in Device Manager: wrong USB mode on the scope, or a charge-only cable. Swap both before blaming drivers.
- Choppy preview: close other apps using the camera, plug the capture dongle into a USB 3.0 port on its own controller, shorten the cable, and lower the preview resolution — preview and recording quality are separate settings in OBS.
- Preview lags your hands: that is inherent to USB capture paths to some degree; solder off the scope's own screen or HDMI monitor and treat the PC preview as framing only.
- Exposure flicker on shiny boards: lock exposure on the scope and adjust the LED ring instead of letting software auto-correct.
Frequently asked questions
Will any digital microscope show up as a webcam on Windows 10?
No. Scopes that implement the UVC standard appear in the Camera app automatically; others expose USB only for file transfer or vendor software, and integrated-screen bench scopes are often designed to work standalone rather than as webcams. Check the manual for the model's stated USB behaviour before building a workflow around webcam mode.
What software should I use to record repair footage on Windows 10?
OBS Studio covers capture from either a UVC scope or an HDMI capture dongle, free of charge. For the cleanest footage, record onboard to the scope's SD card at 2160P and use the PC for editing — onboard recording is immune to PC frame drops.
Why is my microscope preview choppy on Windows 10?
Usually the USB path: a saturated controller, a long or marginal cable, another app holding the camera, or preview resolution set too high. Move the dongle to a USB 3.0 port, shorten the cable, close other camera apps and lower the preview resolution. If it persists, record onboard and use the PC only for playback.
Can I record and watch live at the same time?
Yes — that is the standard creator setup: the scope records 2160P internally while its screen or HDMI output shows the live image. You work from the live view; the recording happens in parallel without touching the PC.
Ready to try Andnstrhan?
Shop Now — £257.40